
Prosumer robots are here. Quality, affordability, and availability are improving rapidly as manufactures compete to deliver hardware.
When AgileX announced Nero, I decided to order. Having owned it for a month now, I want to share my first impressions. I purchased Nero to experiment with Physical AI. It is an affordable, high-DOF, High-payload ARM. It has an impressive 3kg rated payload & 5kg tested payload.
Similar arms like Unitree Z1 are $16K. Nero is currently available for ~$4k!
That’s incredible considering specs. So let’s review what you get.
Unboxing
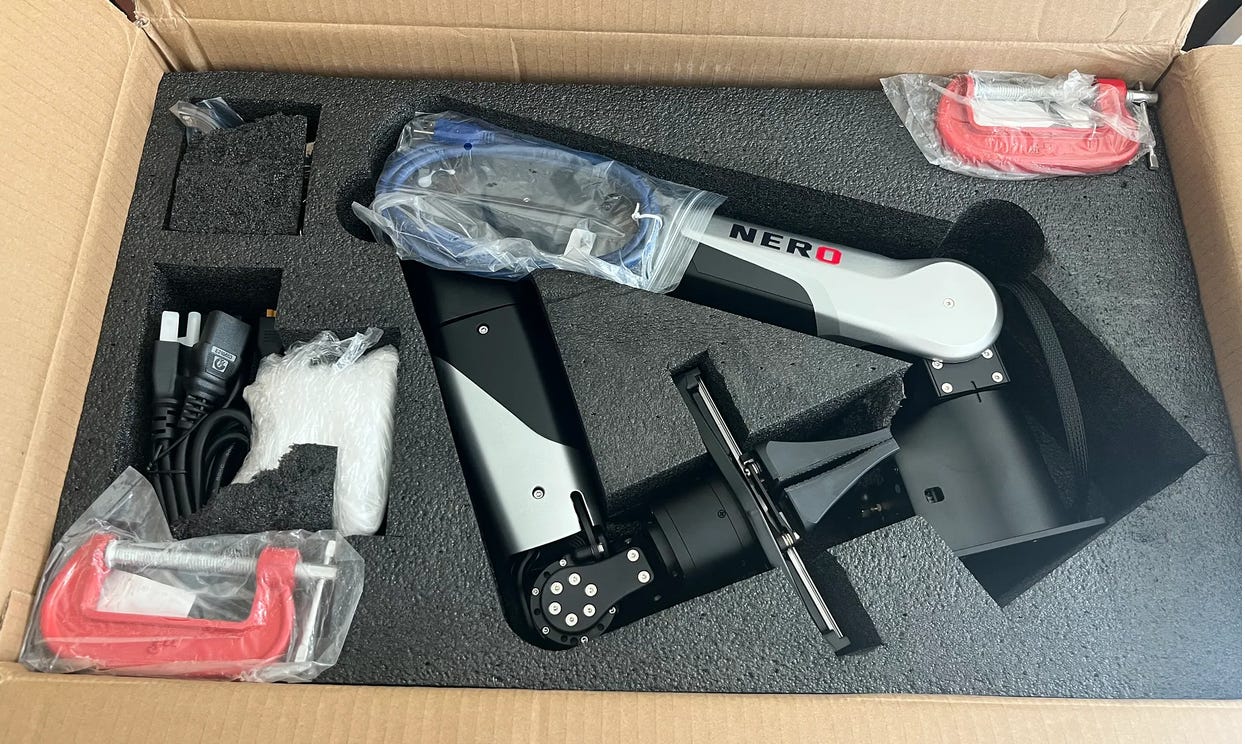
Nero arrives well packaged. Protected by foam. The robot survived shipping.
I optioned a gripper which was attached to the arm in the box. The gripper is an AgileX Piper gripper which is compatible with Nero.
No documents are included in the box.
Learning Curve
I quickly setup the Python SDK and referenced demo scripts to understand control.
I highly recommend reading Nero_API.md. This should be your starting point.
Without a leader-follower arm setup to control Nero, you have to be very careful. While learning the robot control basics, I dropped the arm unintentionally on multiple occasions by doing Resets, Disconnects, or closing applications.
I was able to teach Nero tasks by entering leader mode and replaying it. This is a suitable approach to fine tune models like SmolVLA with LeRobot. Joint data is recorded while the arm is weightless. Upon replaying it can be used to record Datasets for model fine tuning.
Prerecorded tasks are replayed to record LeRobot datasets
Build Quality
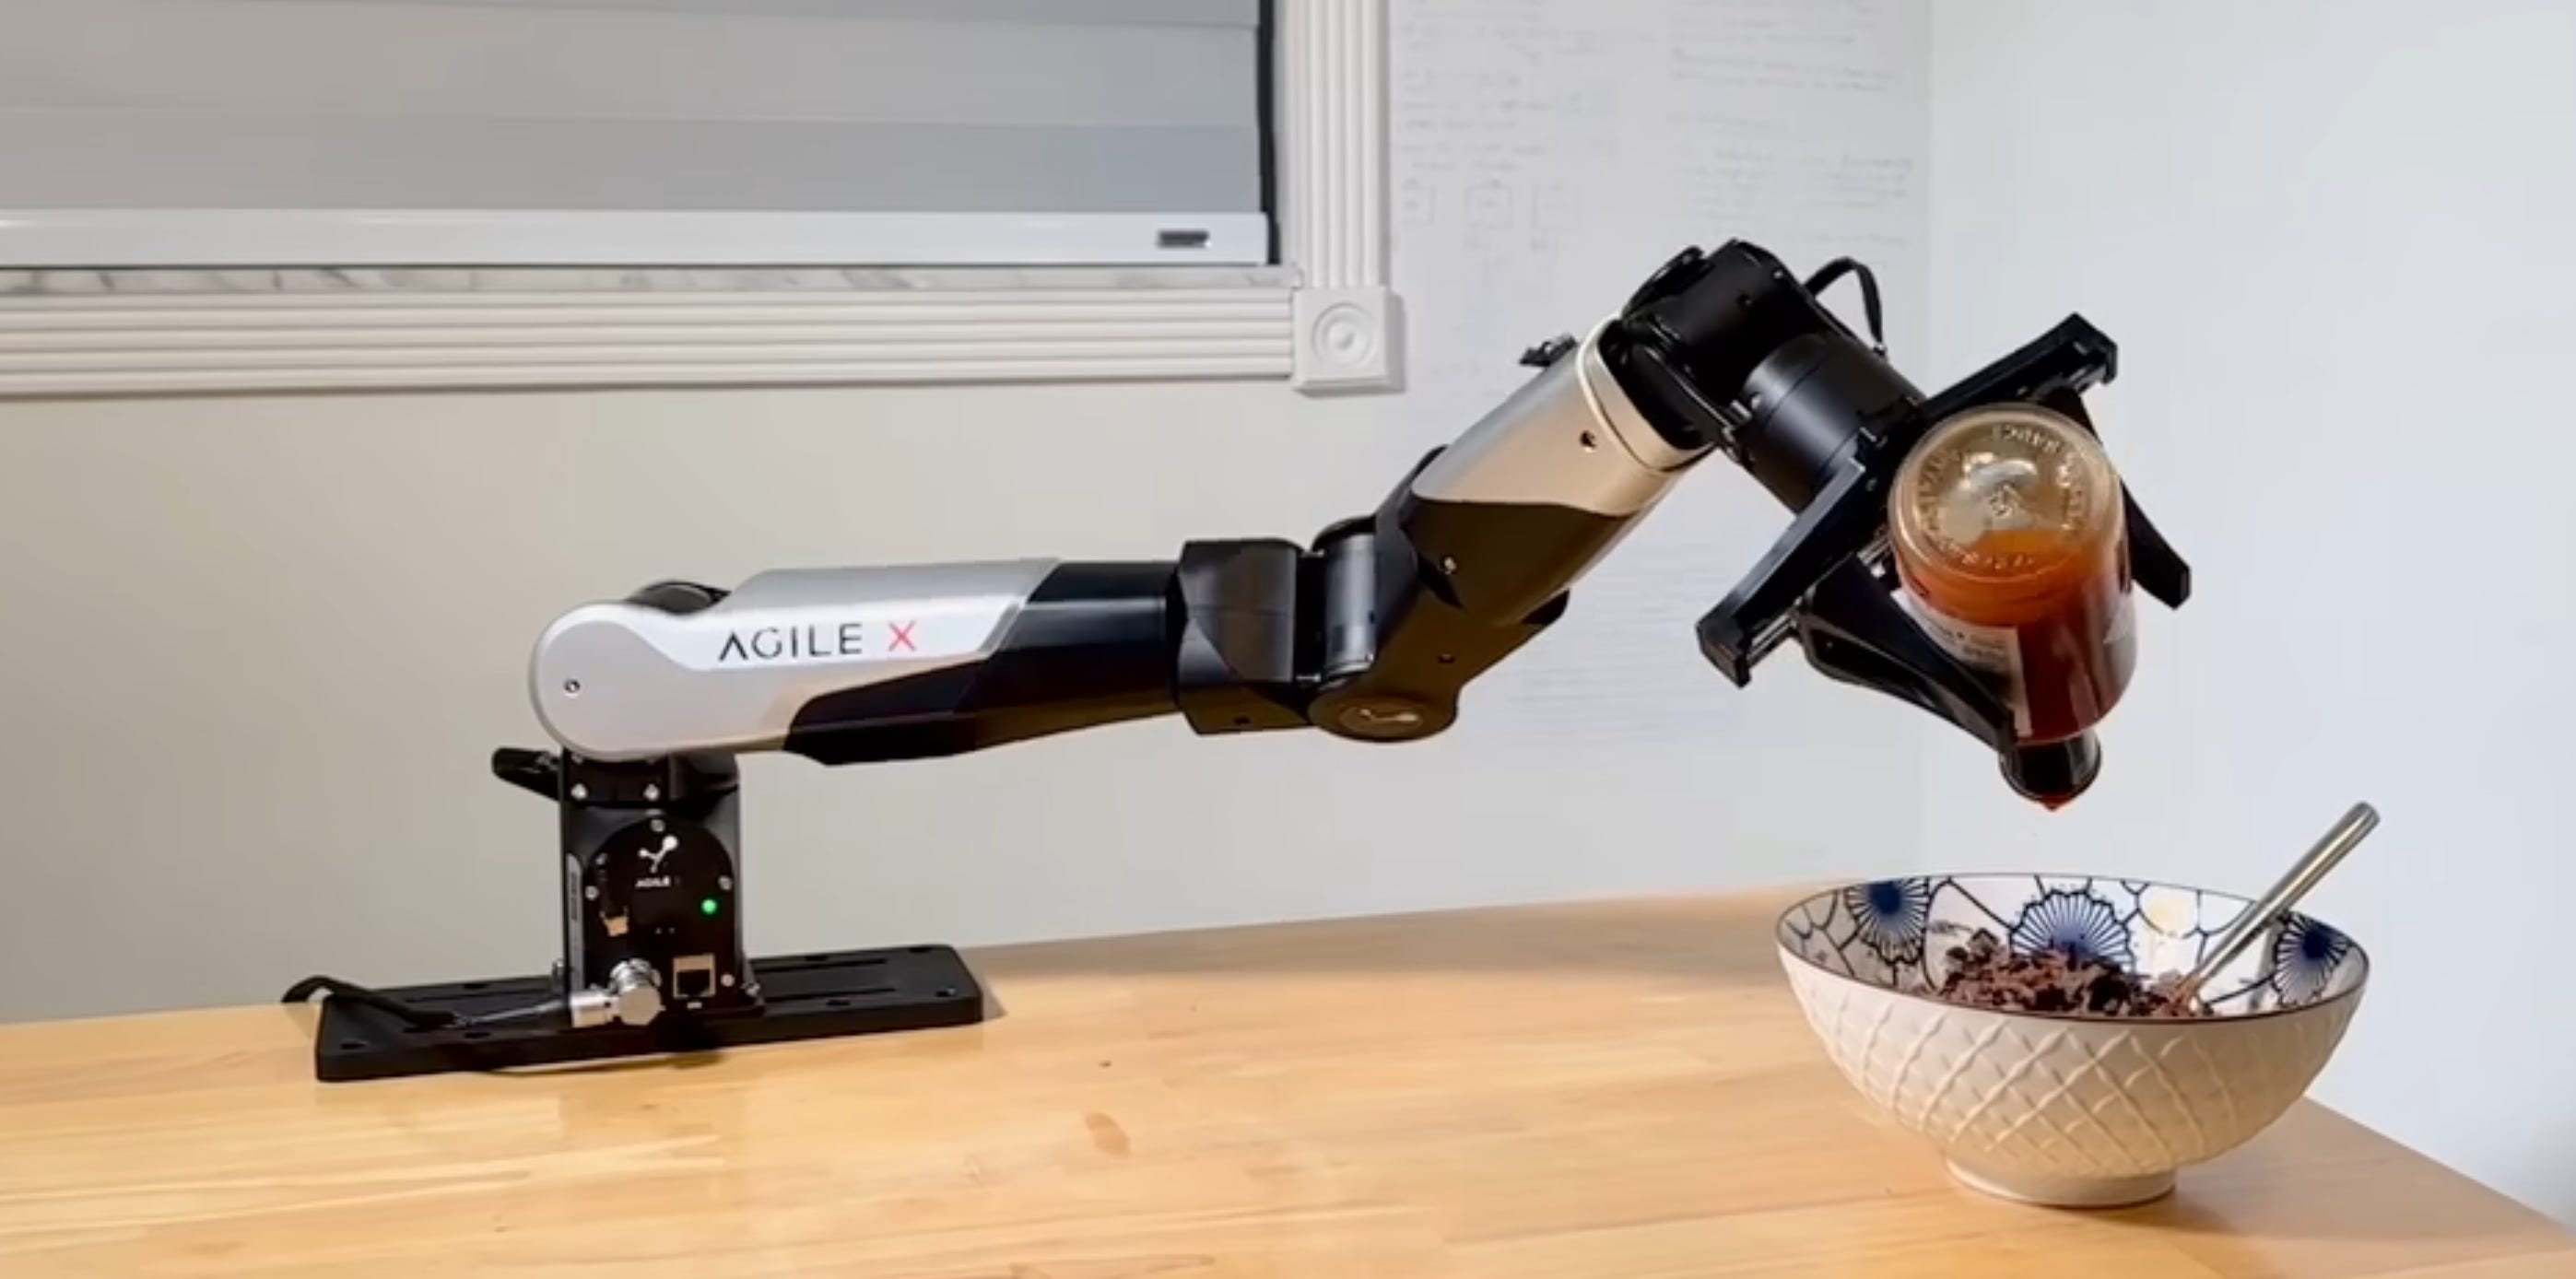
I’ve dropped and slammed Nero multiple times. From fully upright, it’s collapsed to the base unscathed. The arm has an aluminum frame and plastic cover that give it strength and rigidity.
The gripper is powerful. It has a textured rubber surface which makes it capable of grabbing smooth, slippery objects like a glass bottle. It’s force is also impressive.
Issues
The robot arrives without any Manuals. AgileX should include a printed QR code with a landing page to these links.
I contacted AgileX directly and received these links which I used to get started.
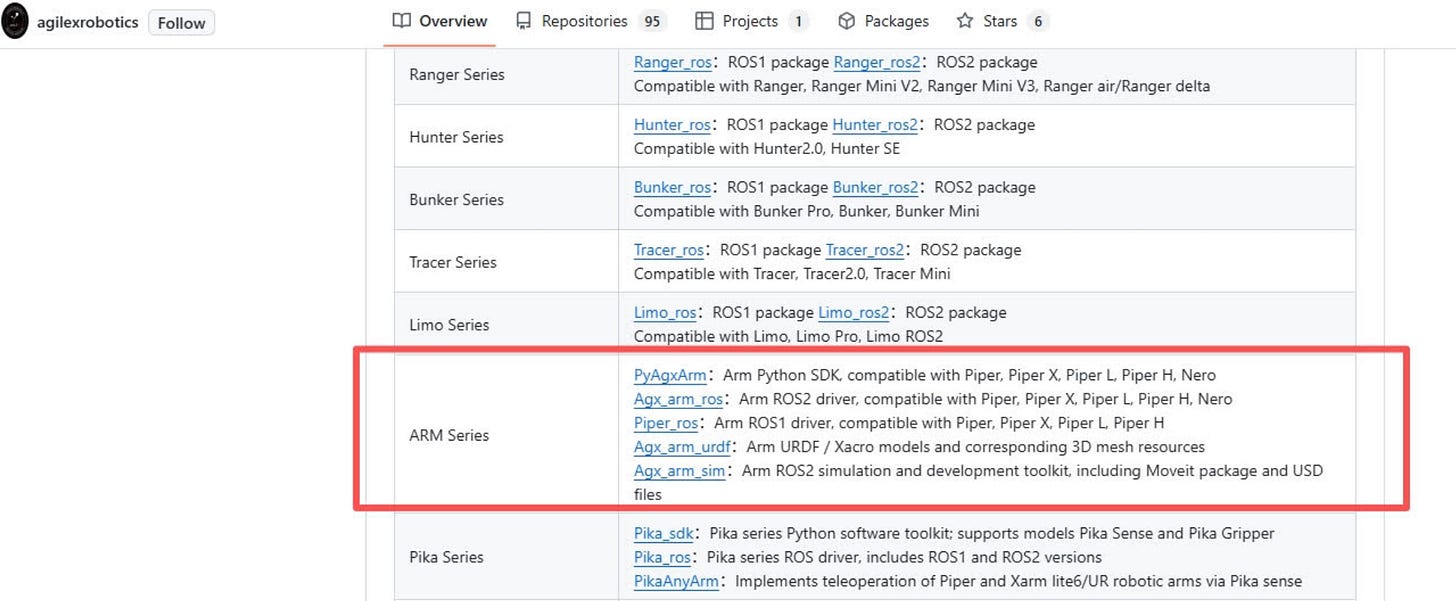
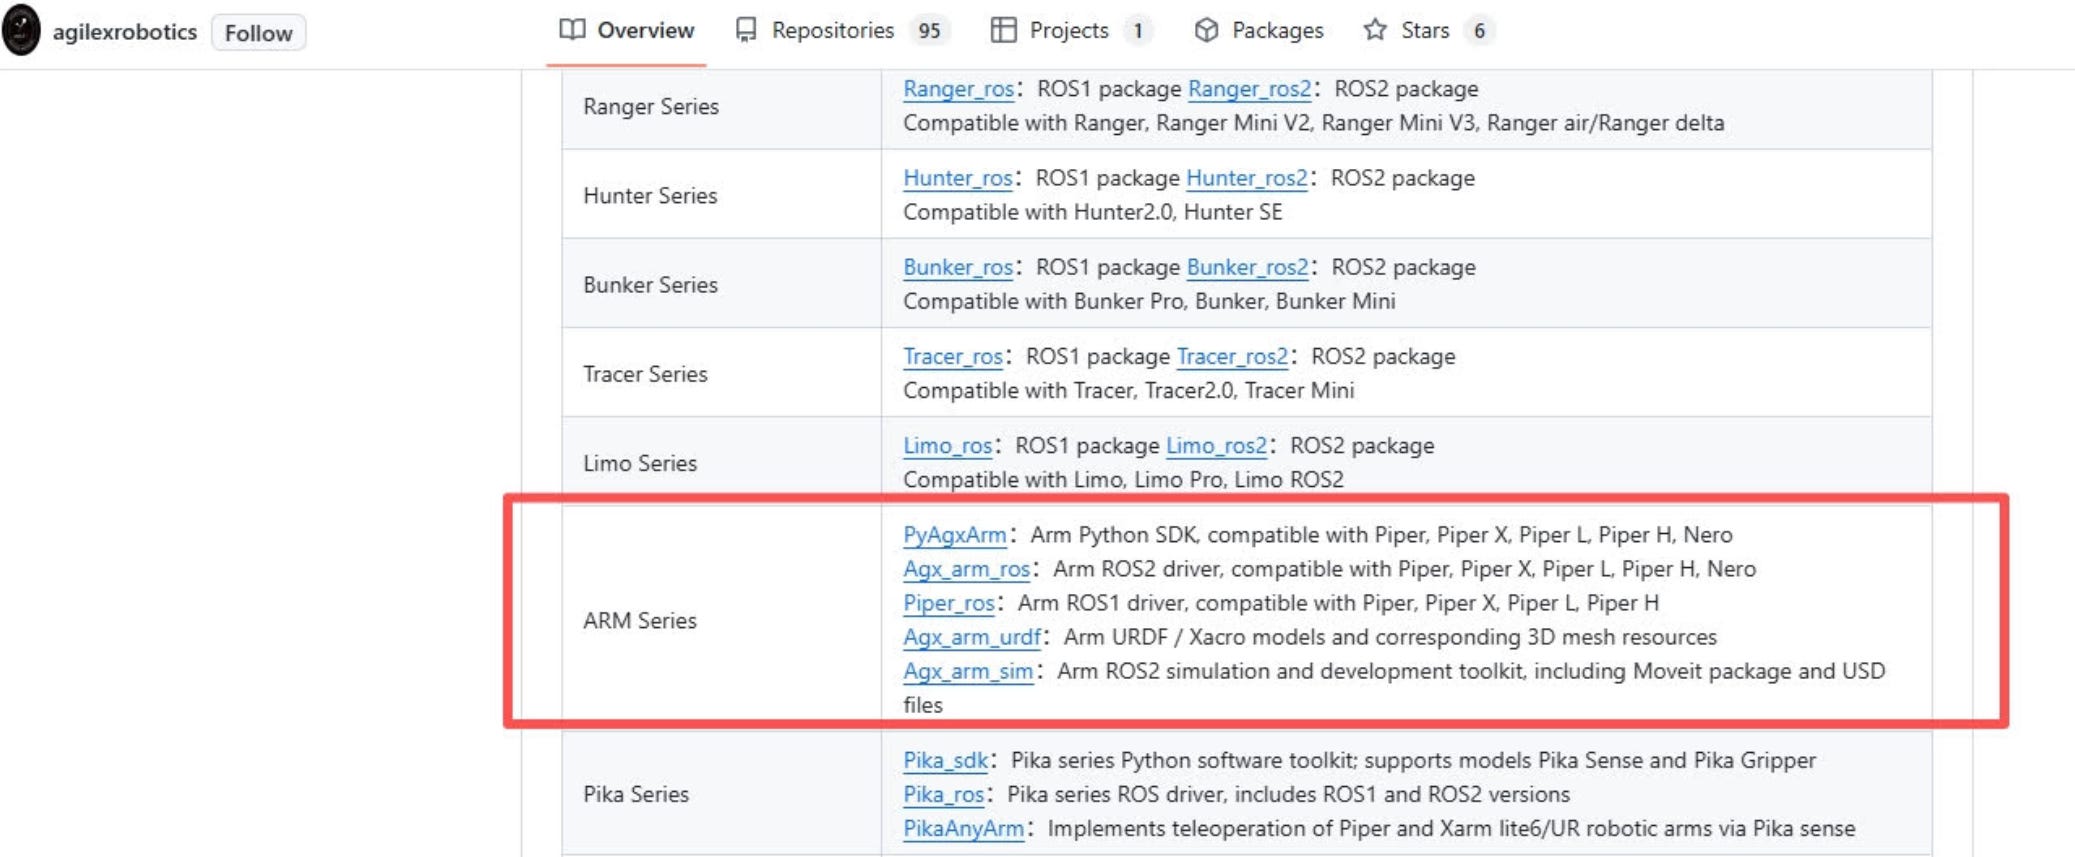
Contains Simulation files and ROS2 driver
Gripper doesn’t work out-of-the-box.
A software patch must be done to get it working. This was frustrating as it’s not mentioned anywhere in documents. I wasted time thinking I was doing something wrong with the SDK.
The Gripper was designed for AgileX Piper, getting it to work on Nero requires changing the ID via CAN commands. It’s straightforward but cumbersome.
The instructions are here on Google Drive. Watch the video titled “nero ID modification guide.mp4”
Wifi stopped working
Nero has built-in wifi support. Once connected you can control the arm through web portal. On the first day, this worked flawlessly however for some reason it stopped working. I am able to use Ethernet to enter the web portal, however not wifi. I’ve tried changing access point settings, power cycling, and adjusting dip switches but nothing has worked. If anyone figures this out, contact me !
Camera Mount
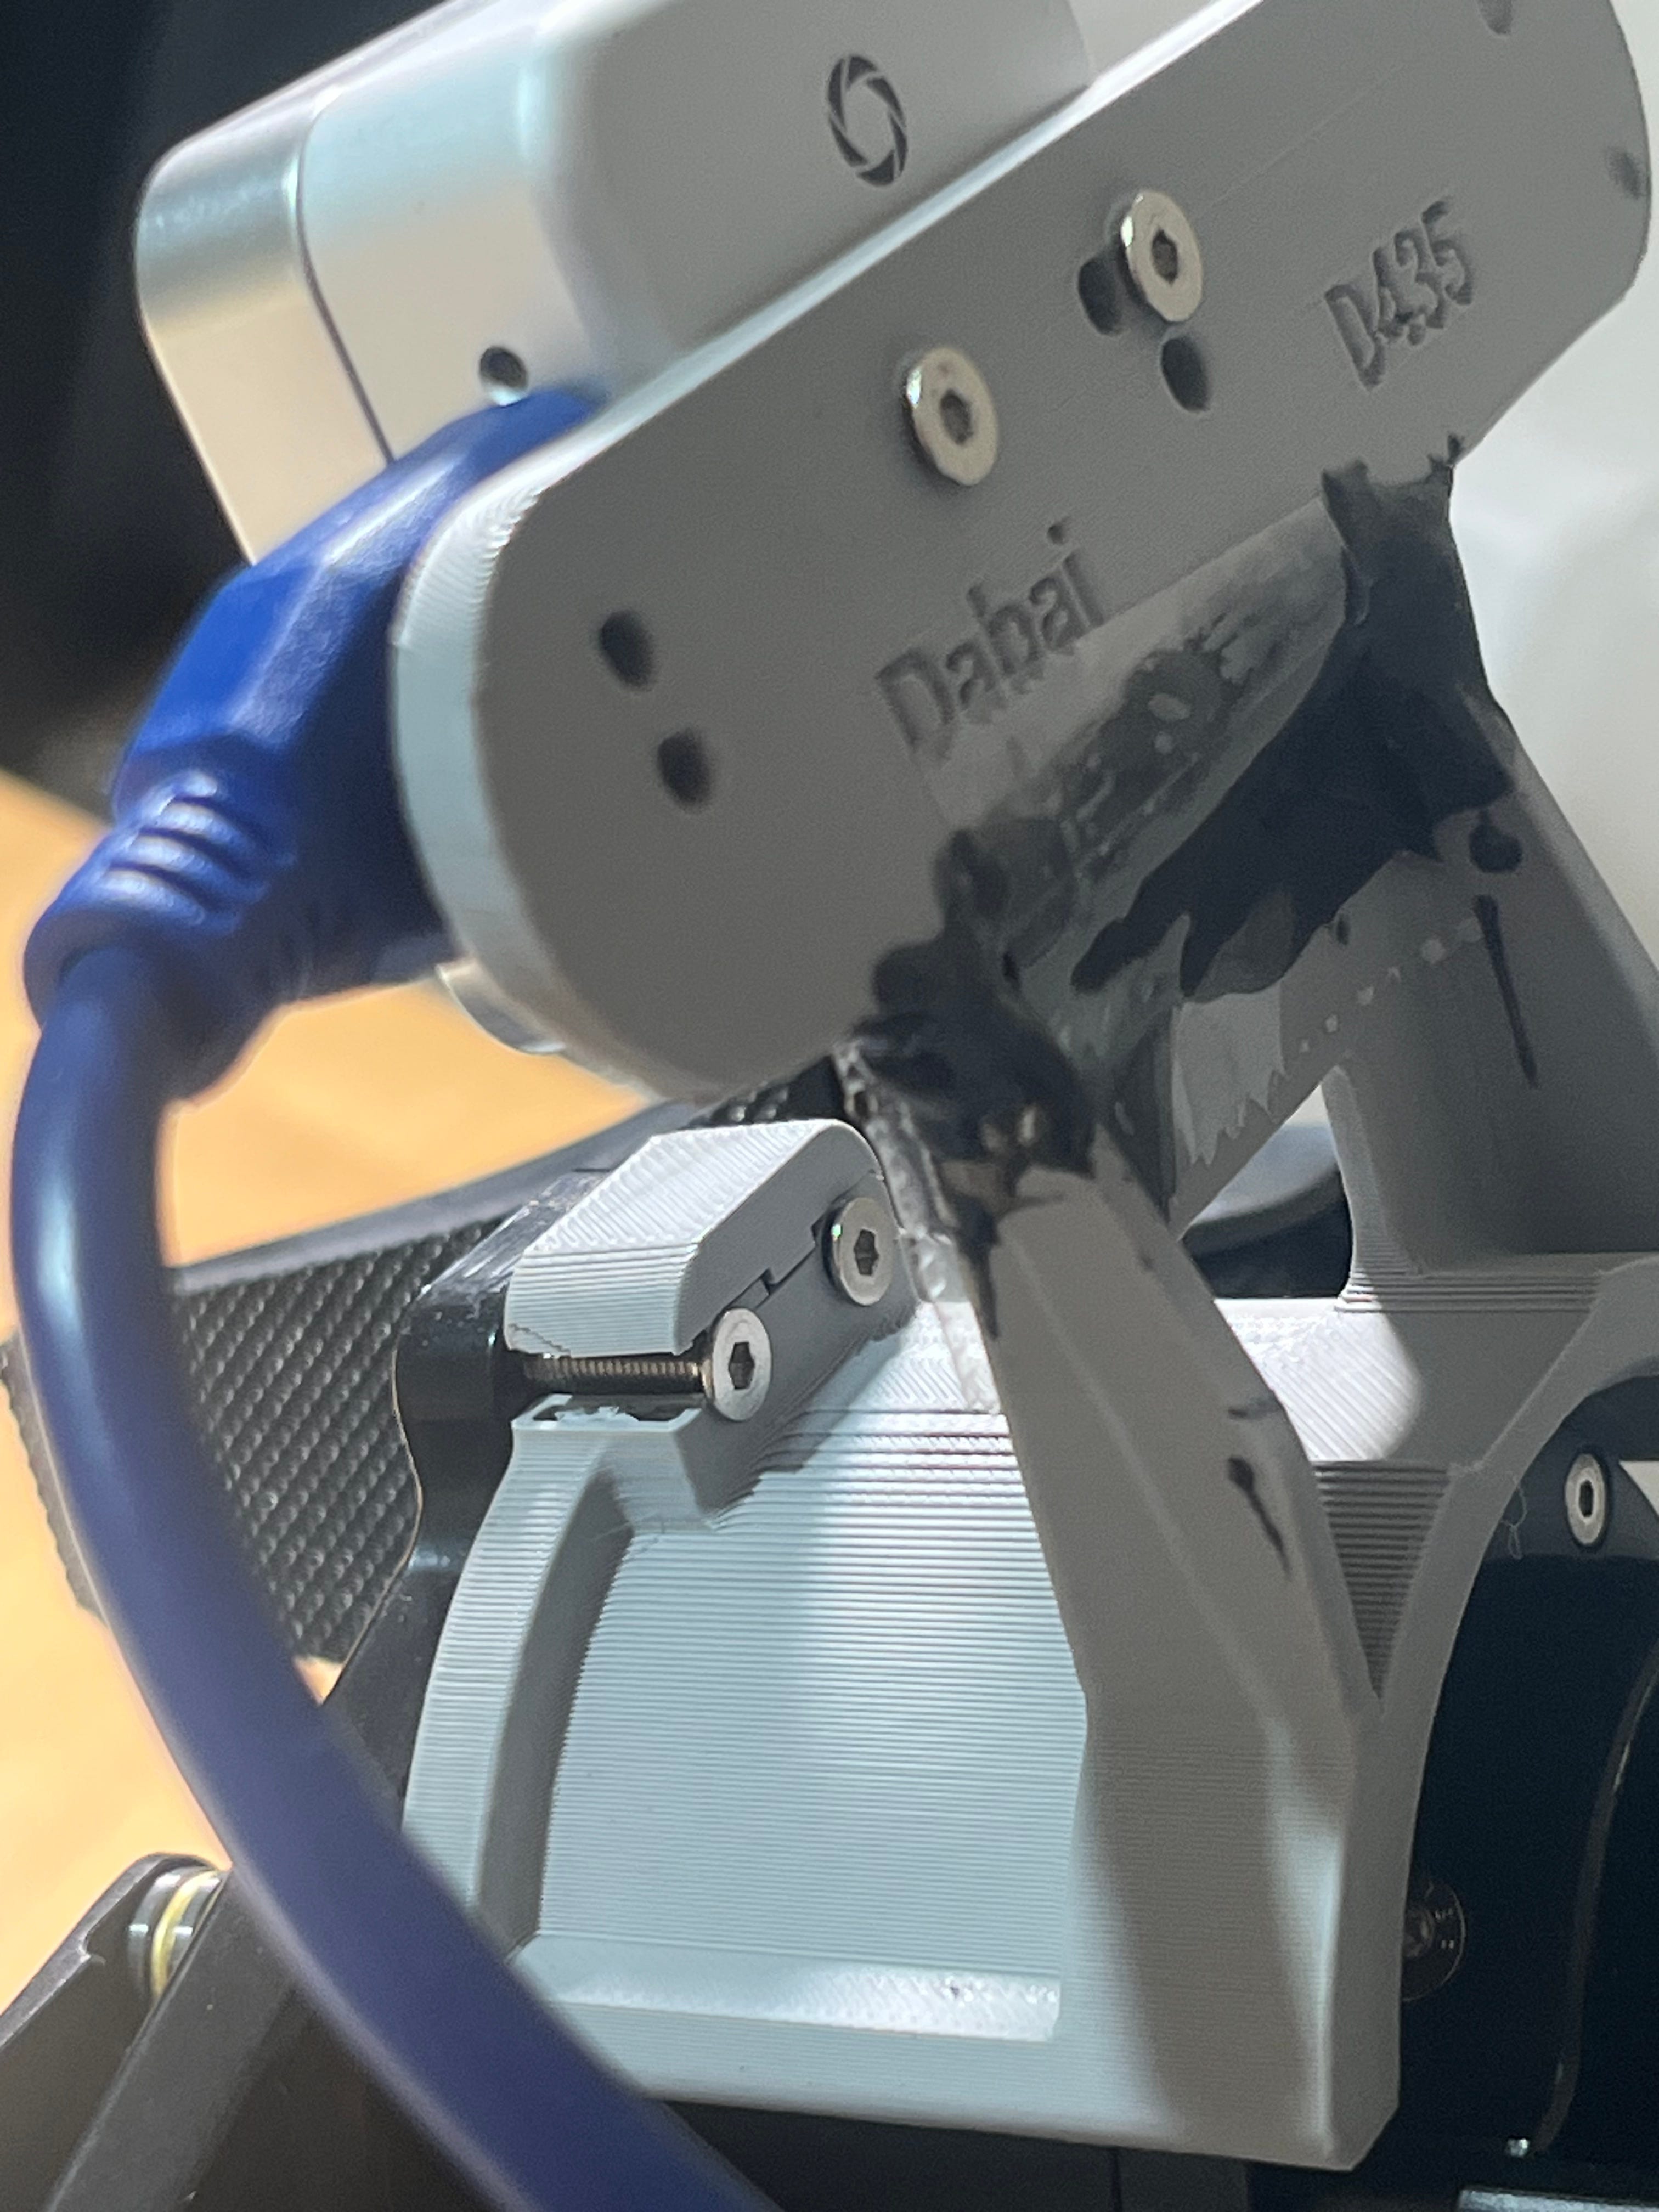
This mount is not manufactured by AgileX. It was included in my package as part of a bundle with an Intel D405 camera. I have broken it twice. It’s poorly designed and printed. There are free 3D print files online that allow you to mount this camera to this gripper. I recommend printing your own.
Key Learnings
In order to get the most out of this Robot, you will need several items
Setup Beforehand
A GPU workstation. A laptop won’t cut it.
Most people will want to build autonomous workflows. To do so, you will want at least a 12GB VRAM NVIDIA GPU, ideally more.I would also recommend installing Linux (Ubuntu 22.04+) as this is industry standard for Physical AI development
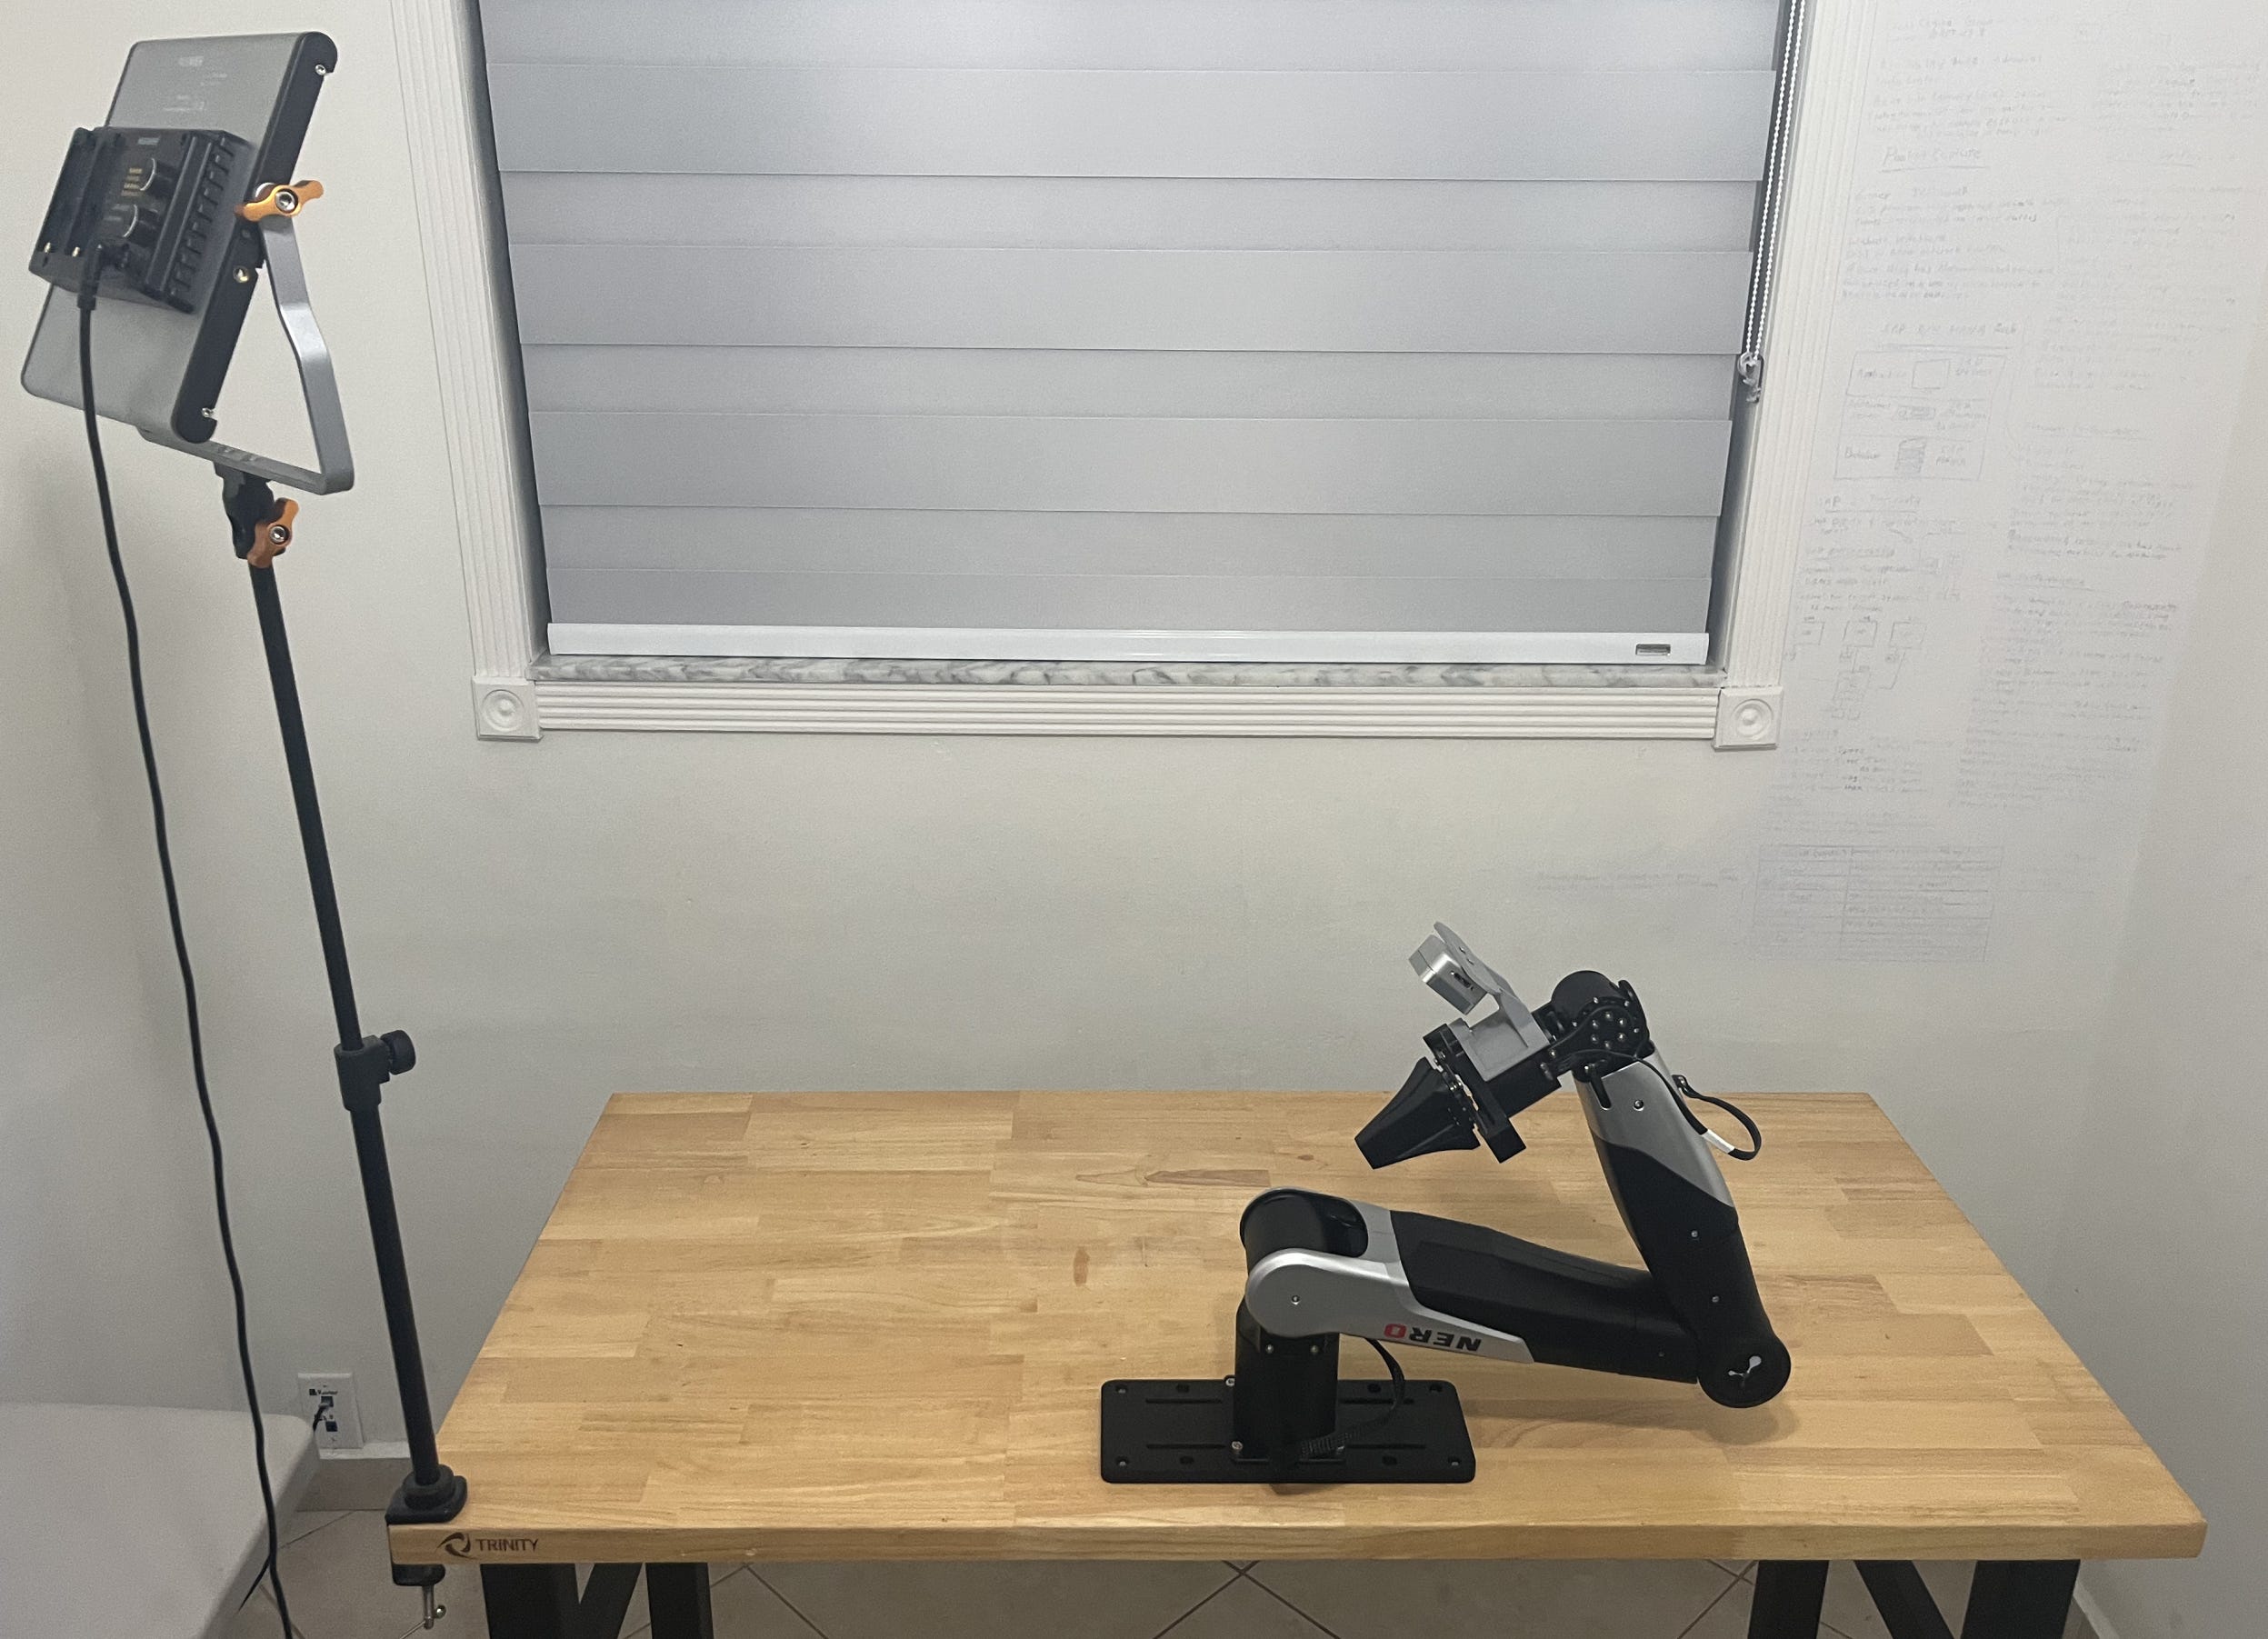
A sturdy bench to mount Nero. The robot mounting base includes C-Clamps that you can use to temporarily mount the robot, however it’s not secure. Bolting it down to a table is a must-do. I’m using a solid wood workbench purchased at Costco.
Configure the Robot
Read manuals.
Connect to web interface.
Install SDK.
Join the AgileX piper discord.
Beware of
CPV method.
CPV mode provides direct joint position / velocity command and parameter read/write APIs.
This method allows increasing joint acceleration limits which is dangerous. It can make the robot move extremely fast with high torque.
MIT mode.
This method allows you to send torque, and joint acceleration values higher than default which also increases the max speed which the robot moves. Similar to the CPV method, it can be dangerous.
Sudden disconnects, resets.
Pay close attention to how the robot is resting before issuing any of these commands as it will cause the robot to collapse. It can crash on to your table and damage itself or surroundings.
Next Steps
Intelligence is key. Nero is just hardware. The real challenge is getting Nero to think. There are several questions I want to answer as I push this hardware to it’s limits.
What is the precision, and how does that change over time?
What real world problems can Nero solve with a custom end-effector?
Can cloud computing be leveraged for inference?
What is the easiest way to train Nero to learn a autonomous task?
Nero practices Pick and Place task ( Autonomous + RL ) using Nvidia ENPIRE
In conclusion
It’s clear that Nero delivers on first impressions. The robot is smooth, precise, robust, and reliable. Products like Nero will become platforms for research commercialization solving real world problems. I believe it is a quality product at a competitive price, and look forward to continue developing physical AI using Nero.
If you’re interested in purchasing one in USA, I purchased mine via authorized distributor Robify LLC (Not Sponsored).